

- August 31, 2026
- Home Services
- Comments : 0
How to Take the Best Photos of Your Holiday Lighting Jobs with Your iPhone
The holiday lighting season is a short but busy time of year, focused on visual appeal, creativity, and brilliance. As a holiday lighting professional, you want to showcase your company and holiday lighting skills with crisp, clear photos that attract customers and generate more leads. Perhaps you have considered hiring a professional photographer to capture your holiday lighting installation projects, but you might be surprised to learn that you can take high-quality photos with the iPhone you already have in your pocket. Learn how to use your iPhone to capture excellent photos that showcase your holiday lighting expertise.
How do High-Quality Photos Help Sell Your Services?
- Interested customers discover ideas and inspiration from photos
- Builds trust in the community
- Demonstrates your skills and the quality of your work
- Generates inquiries from prospective clients
- Enhances your website, social media, Google Business Profile, and more.
- Helps advertise your expertise
How to Ensure Clear, Crisp Photos?
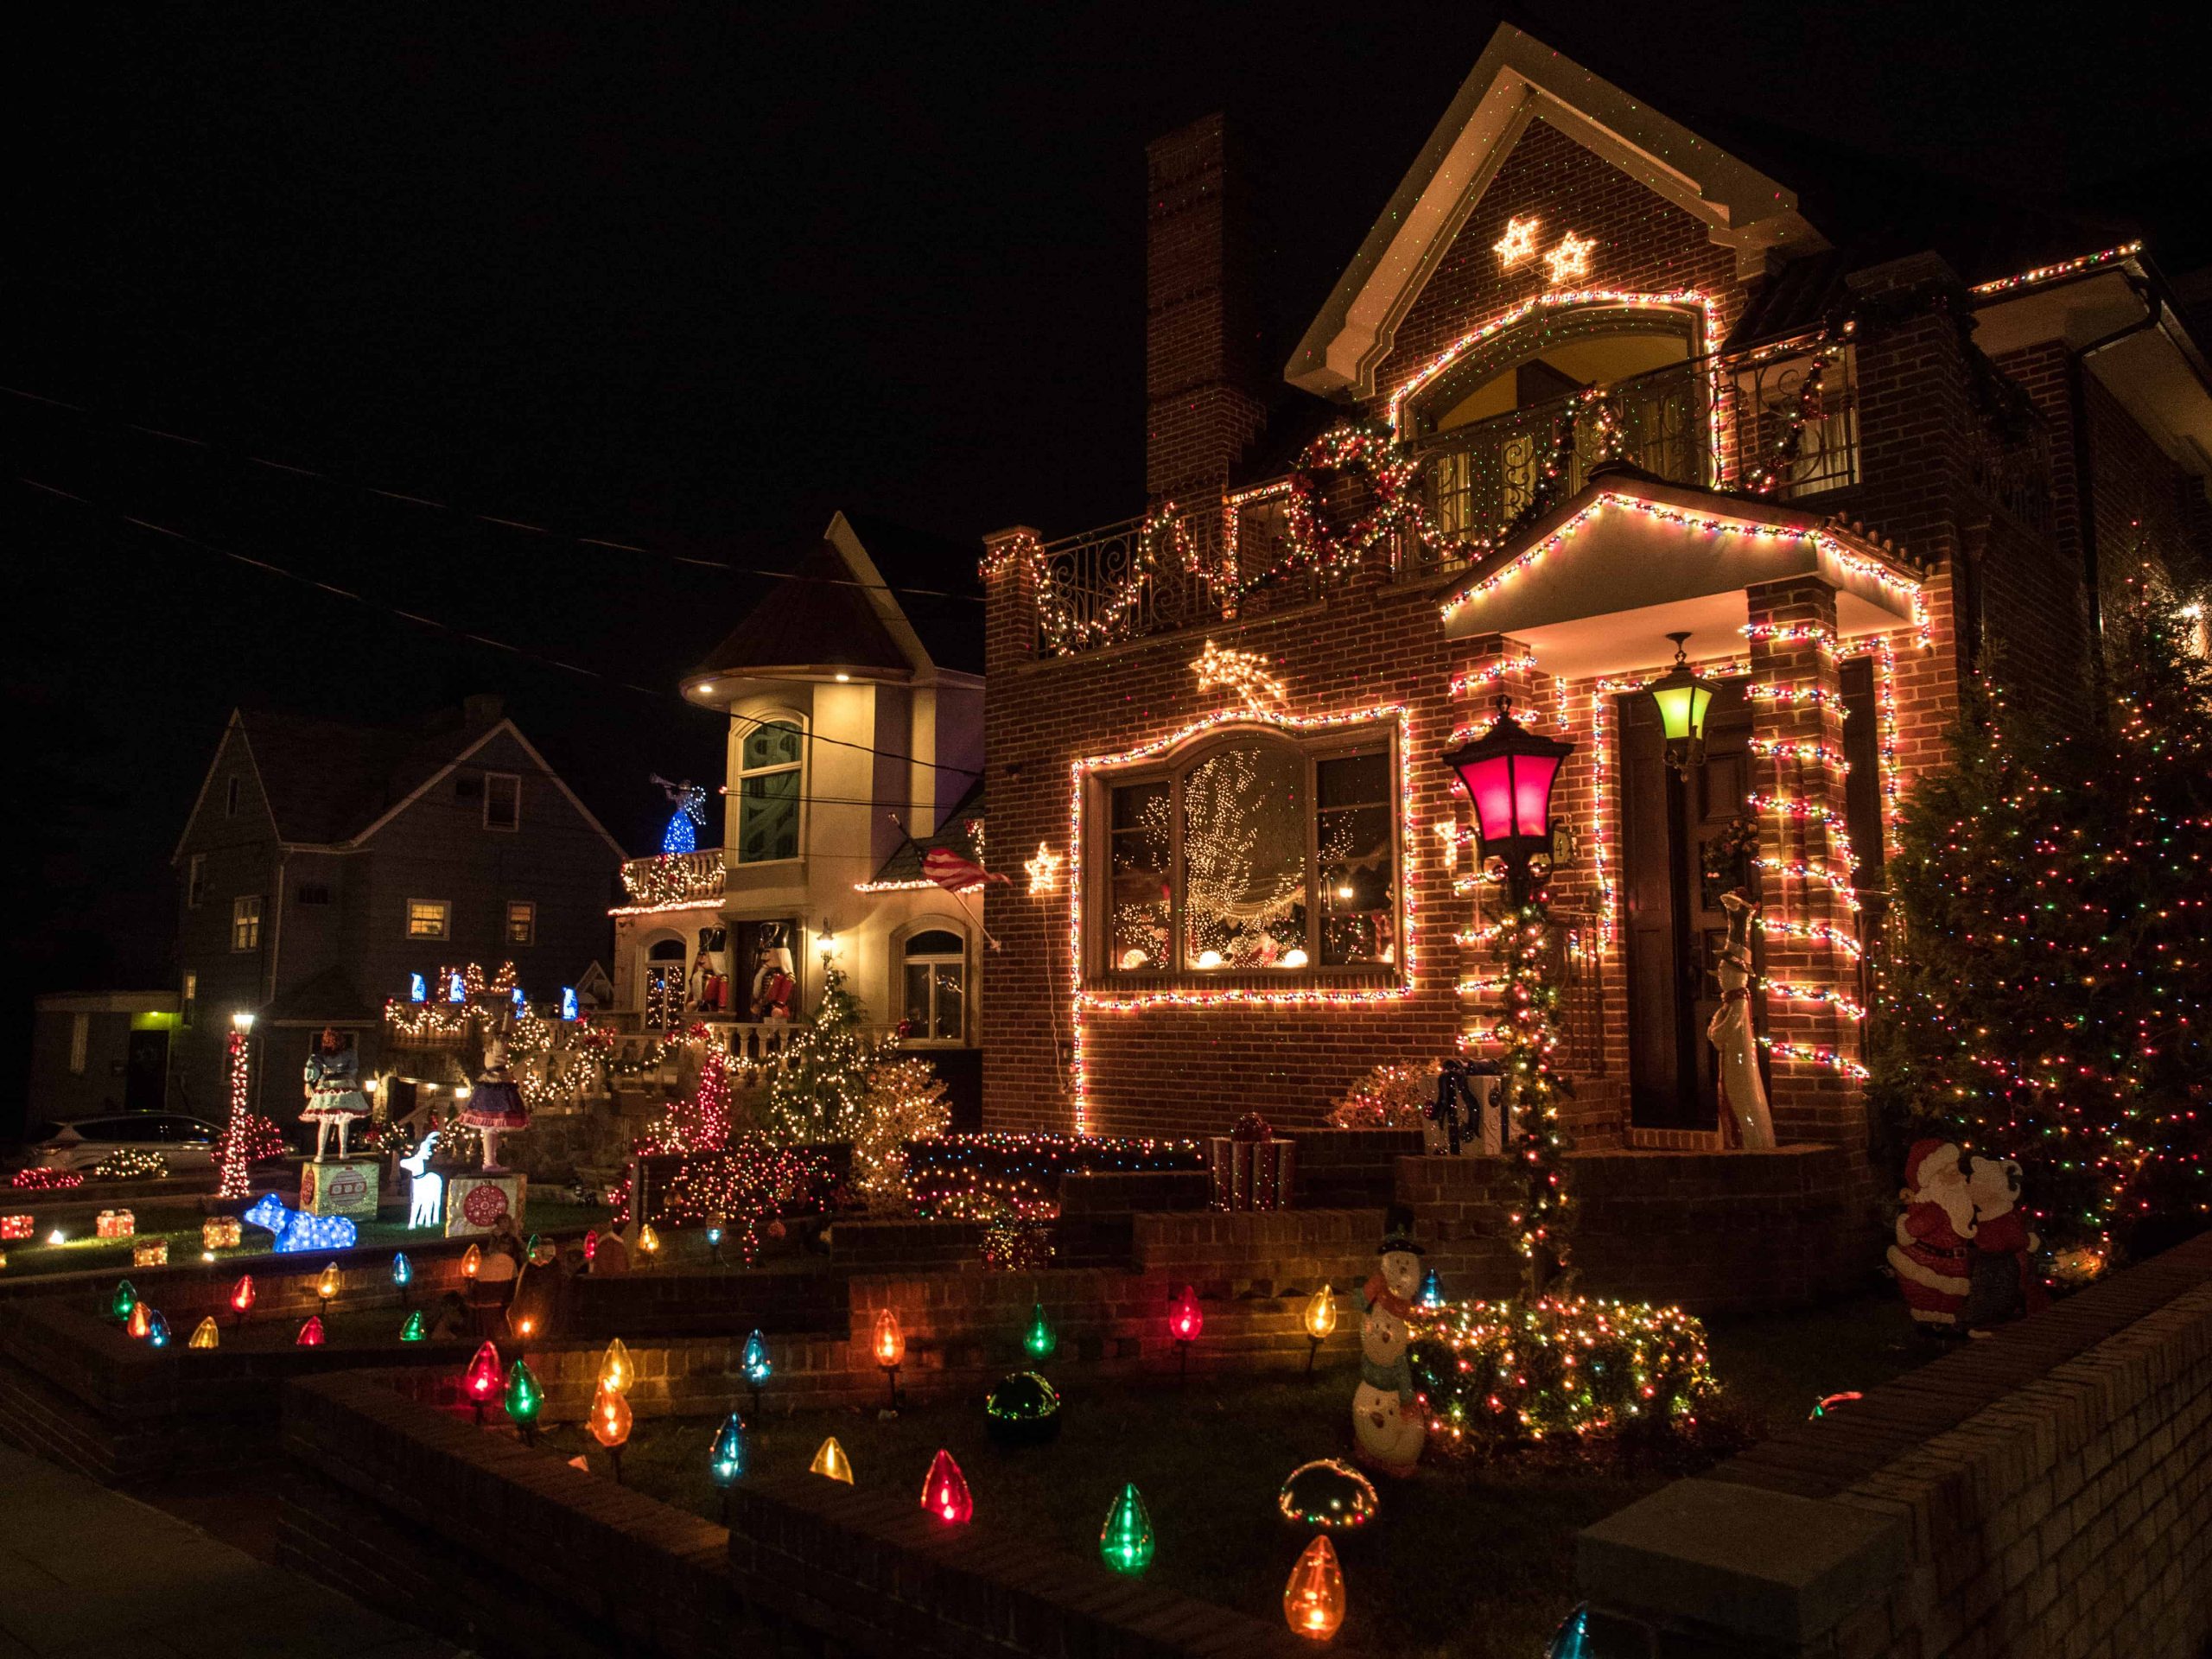
- Plan your timing: Photos of holiday lighting projects have the best outcome when they are taken just a few minutes after sunset. Strive to take photos about 10-30 minutes after sunset one evening.
- Ensure a clean lens: As simple as it sounds, make sure the lens of the iPhone’s camera is clean by using a lint-free microfiber cloth to wipe away any dust, dirt, moisture, or other contaminants.
- Use the iPhone’s standard 1x lens: Automatic zooming can reduce the quality of the photo; therefore, take photos using the standard 1x lens and zoom in during the editing process if desired.
- Ensure the flash is in the off position: When the flash is off, the holiday lights become the focal point of the photo.
- Use the camera’s grid to ensure a steady, level photo: A level photo will create the best pictures. You may want to place the iPhone on a table or a tripod.
- Tap the screen to focus the scene: The focus option on an iPhone helps create pictures that are clear and crisp. You may want to take a few photos with different focal points to find the best view.
- Take photos from various angles: Aim to take an array of photos from different angles around the property. Take pictures from the front of the property, the corners, the street view or driveway area, or photos of the roofline if lights were installed around the region.
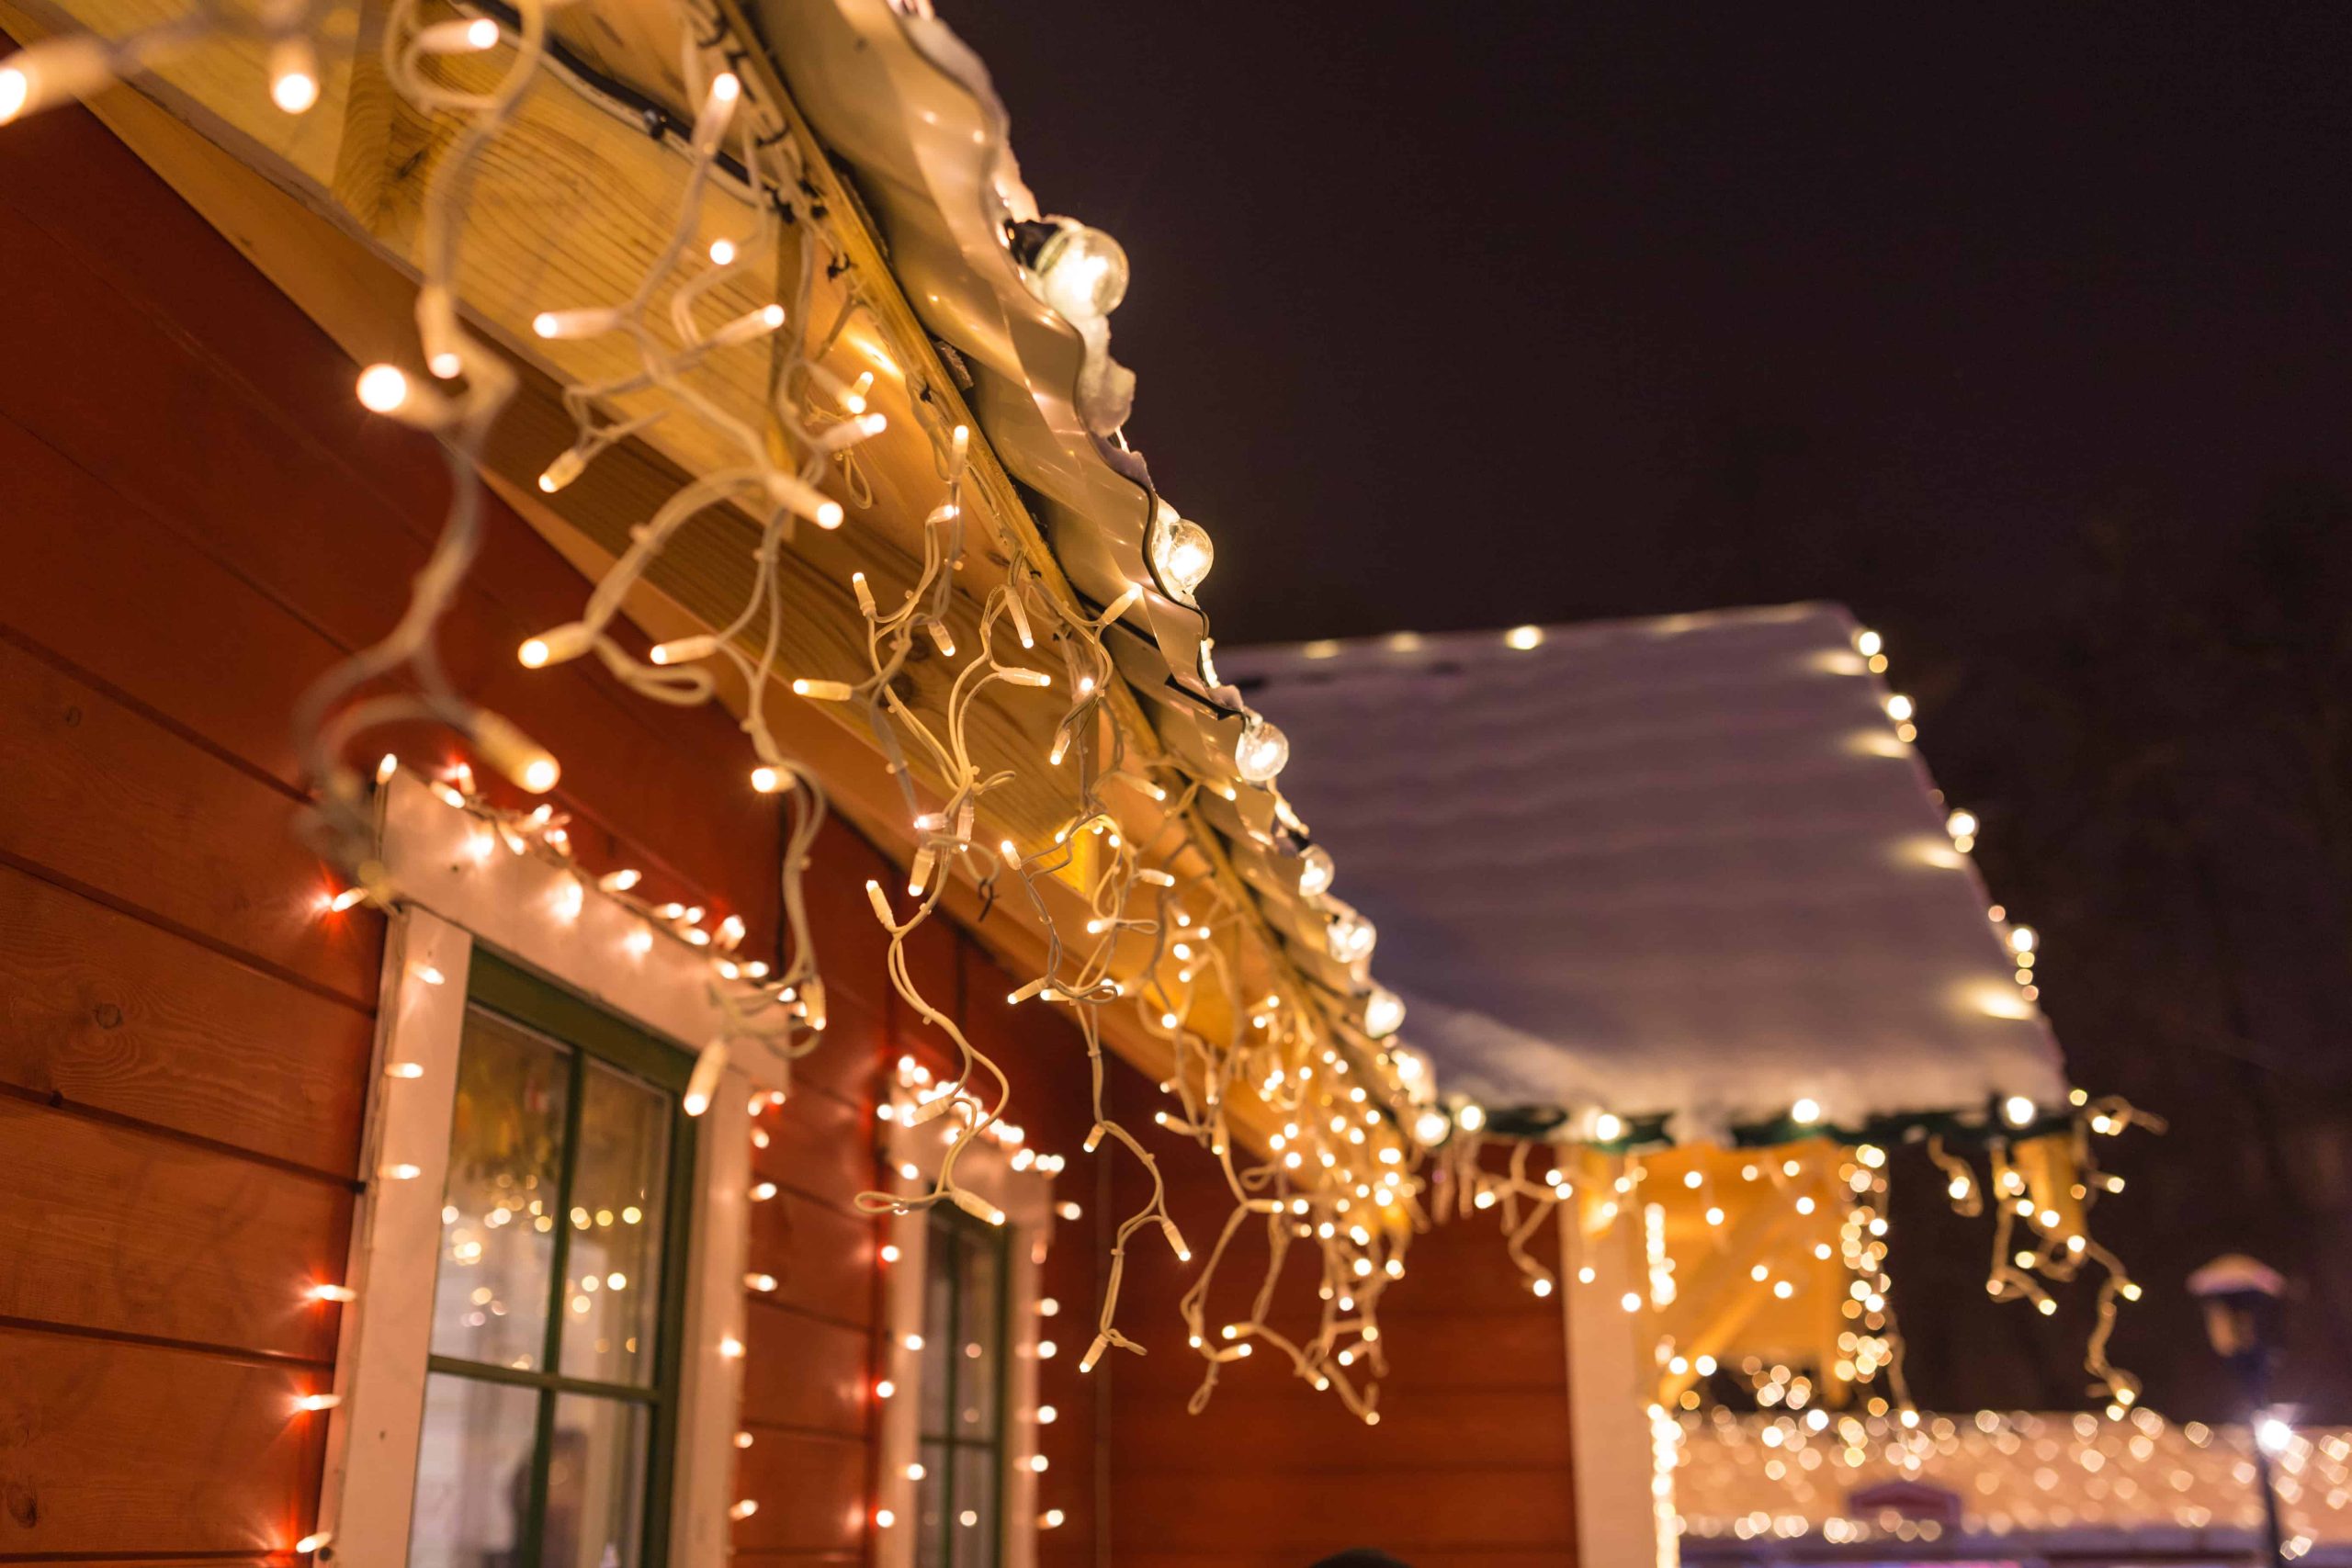
- Take close-up, detailed photos: While wide-angled pictures are important, you may also want to take photos of the finer details you helped create. Consider pictures of a single tree, wrapped columns, wreaths, garland, or other areas you decorated during the installation process.
Bottom Line
Holiday lighting photos can be used in a variety of ways to help advertise your services. Photographic evidence of your work can be used to enhance your website, Google Business Profile, social media, and other marketing campaigns. You can develop high-quality photos on your iPhone to help you reach new customers and convert leads.
Frequently Asked Questions (FAQs)
Should I invest in a professional camera or is my iPhone enough for my holiday lighting job photos?
Some holiday lighting installers are surprised to learn that they can take high-quality pictures with the iPhone in their pocket. Today’s iPhones have advanced camera features that enable people to take clear, detailed photos. With just a little bit of training and patience, you can take photos with your iPhone that enhance your website, social media, Google Business Profile, and other advertising platforms.
When is the best time of day to take holiday lighting photos?
It is best to take holiday lighting photos when the lights shine brightly and the environment is still slightly visible; therefore, taking photos about 10-30 minutes after sunset will provide the best results. During this time, the outline of a home or commercial property is still visible, as well as the surrounding trees, shrubs, and other borders. When the landscape is visible and the lights shine brightly, you can capture the best photos of your holiday lighting project.
Approximately how many photos should I take of each project?
Once you have the property owner’s permission, it is a good idea to take several photos from various angles to collect a wide selection to choose from later. Strive for 15-20 photos of your holiday lighting installation, aiming for wide-angle shots, close-ups, different angles and perspectives, and several detailed shots, too. You can edit the photos at a later date to achieve the best quality photos for your purpose.